This post is for someone like me who just get started with VIM, and because the original plugin author doesn’t given detailed steps about how to setup his awesome work, here I am.
NOTICE This is not a post about how to install Go.
VIM plugin we use: github.com/fatih/vim-go
Install Pathogen Link to heading
Pathogen is a plugin manager of VIM, which tons of plugins support it. So, one time forever, let’s install it.
- Go to Pathogen home page, find the ZIP archive of package.
- Download and unzip, you’ll have a directory called
autoloadput the file namedpathogen.vimto~/.vim/autoload/pathogen.vim. - Edit
~/.vimrcfile and addcall pathogen#infect()to the top.
Install VIM-GO Link to heading
Now, let’s install plugins we want.
- Get into directory
~/.vim/bundlethen executegit clone https://github.com/fatih/vim-go.git. - Edit
~/.vimrcfile and add following content(the last line is for not auto-installing missing packages, which may need long time):
syntax enable
filetype plugin on
set number
let g:go_disable_autoinstall = 0

" Highlight
let g:go_highlight_functions = 1
let g:go_highlight_methods = 1
let g:go_highlight_structs = 1
let g:go_highlight_operators = 1
let g:go_highlight_build_constraints = 1
- Great, now you can follow some instructions on github.com/fatih/vim-go to custom. Note that use
<C-x><C-o>call code completion, and better call it after you type..
Install neocomplete Link to heading
This is the plugin gives you real-time code completion, but it has special requirements for your VIM, see github.com/Shougo/neocomplete.vim for more details.
- Get into directory
~/.vim/bundleand executegit clone https://github.com/Shougo/neocomplete.vim.git. - Edit
~/.vimrcfile and add linelet g:neocomplete#enable_at_startup = 1. Now the real-time feature will be enabled automatically every time you start your VIM.
Install molokai theme Link to heading
The same author wrote a molokai theme for VIM: github.com/fatih/molokai.
To install it, just download his molokai.vim and put it into ~/.vim/colors . Then add colorscheme molokai to your ~/.vimrc file.

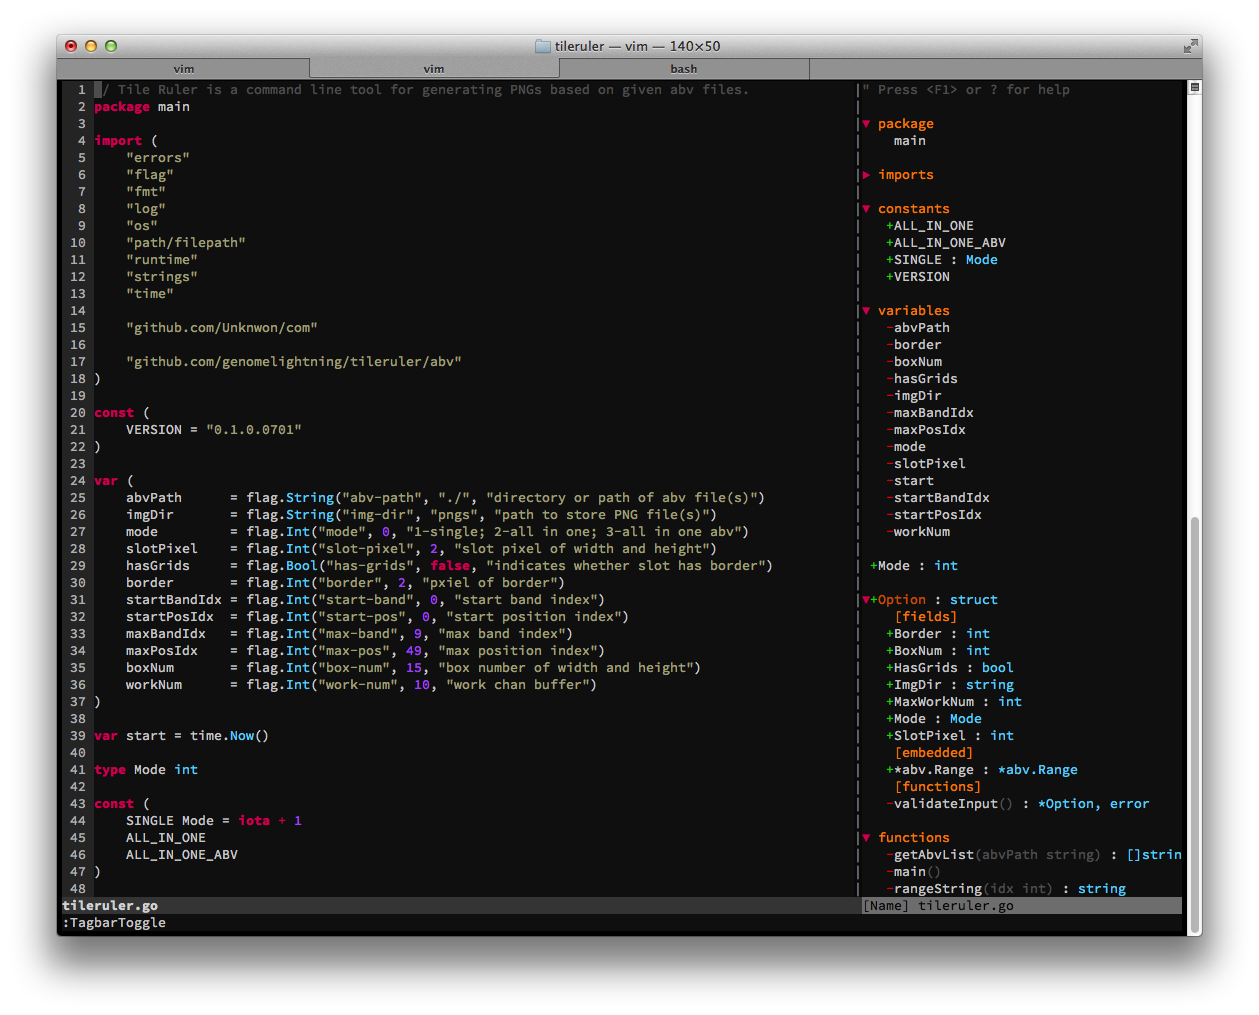
Install tagbar Link to heading
This one is optional, but I installed it just because it looks so cool!
- First of all, you have to install
ctags, I use Mac so just simplybrew install ctags. - Then execute
go get -u github.com/jstemmer/gotagsto install Go parser. - Add following lines to your
~/.vimrcfile:
let g:tagbar_type_go = {
    \ 'ctagstype' : 'go',
    \ 'kinds'     : [
        \ 'p:package',
        \ 'i:imports:1',
        \ 'c:constants',
        \ 'v:variables',
        \ 't:types',
        \ 'n:interfaces',
        \ 'w:fields',
        \ 'e:embedded',
        \ 'm:methods',
        \ 'r:constructor',
        \ 'f:functions'
    \ ],
    \ 'sro' : '.',
    \ 'kind2scope' : {
        \ 't' : 'ctype',
        \ 'n' : 'ntype'
    \ },
    \ 'scope2kind' : {
        \ 'ctype' : 't',
        \ 'ntype' : 'n'
    \ },
    \ 'ctagsbin'  : 'gotags',
    \ 'ctagsargs' : '-sort -silent'
\ }
- Just like install other plugins, get into
~/.vim/bundleand executegit clone https://github.com/majutsushi/tagbar.git. - Edit
~/.vimrcfile and add linenmap <F8> :TagbarToggle<CR>. This is a key mapping, which allows you useF8to enable/disable the feature.
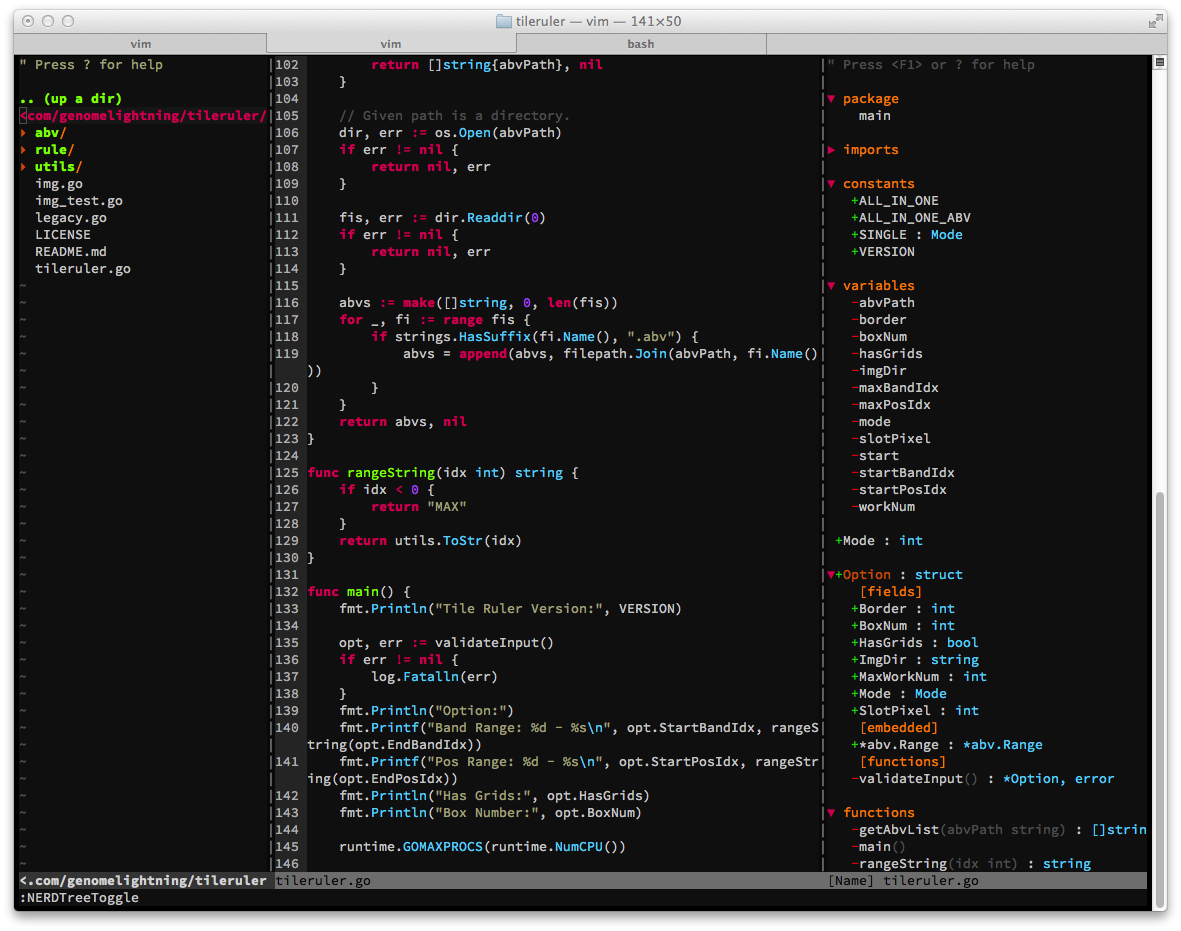
Install file browser nerdtree Link to heading
- Get into
~/.vim/bundleand executegit clone https://github.com/scrooloose/nerdtree.git. - Edit
~/.vimrcand add linemap <C-n> :NERDTreeToggle<CR>. Now you can press<Ctrl+n>to enable/disable this feature.
Awesome work!
Summary Link to heading
Please read VIM-GO’s documentation for more advanced usage, this post only can help you get started.
Good good study, day day up!